
Body
Hinge Pin Removal
Bud Vases
Convex Mirrors
Fuel Tank De-Rusting and Coating
Headlamp Bar Fitting
Window Winder Spring Installation
Removing Difficult Hinge Pins
In order to fit my new external mirrors to my Sports Coupe, the top hinge pins needed to come out. After a week of spraying them with Break Away (my latest highly recommended penetrating spray), and thumping them with a pin punch and gympie, they hadn’t budged.
After searching the internet, canvassing expert and non-expert opinions, I was almost at the stage of trying to remove the hinges (would that have been any easier?), using heat, and re-painting them.
Then in the wee hours of one morning (when I thought I was asleep), I came up with the successful solution. It involved the use of my cheap, monster 1500W hammer drill/jack hammer (pictured).
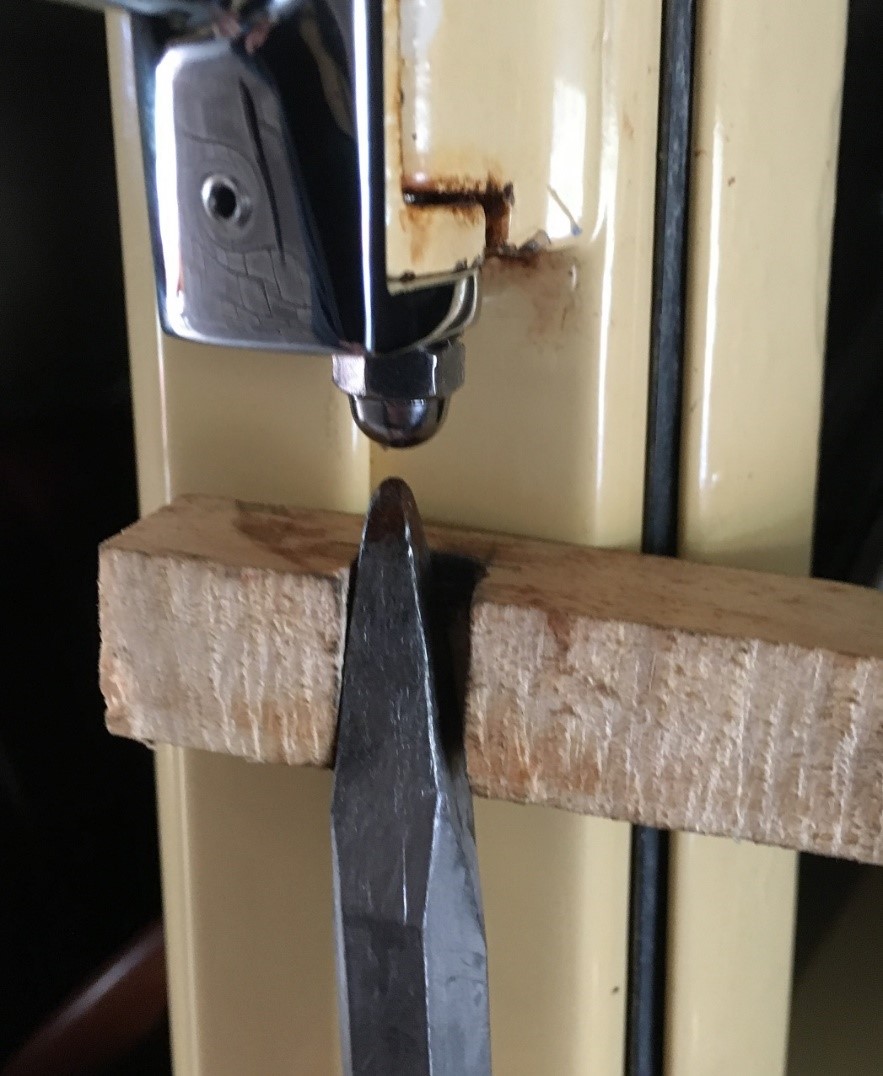
Using my normal drill, I drilled a small dimple in the bottom of the hinge pin to try to stop the pointed chisel tip from sliding off. Because I couldn’t get the big jack hammer directly under the hinge, and it was always going to jump off towards the car, I notched a piece of wood for my accomplice to hold to keep the chisel tip in position.
After that preparation, one pin took about 10 seconds of high pressure and heavy percussion before it popped-free, while the other came free very quickly.
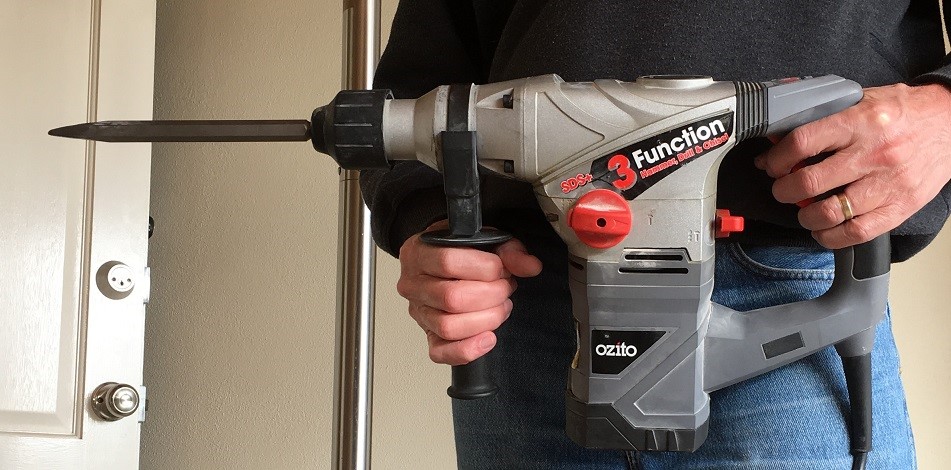
Sadly, it appears Bunnings don’t sell this beast anymore. My recollection is that it only cost about $100 about 8 years ago. If you need to drill through concrete and your normal hammer drill is struggling – this thing makes short work of it. And if you need to breakup brickwork, the big chisel tip slices through mortar.
I didn’t think to take a photograph of this at the time, so this “after the event” shot shows the chisel tip under the new mirror bolt instead of under the old hinge pin.
Ian Steer, Western Model A News July 2018
Top of page
Bud Vases for Closed Cars
For those interested in a pair of Bud Vases for their closed car who find the price (US$195) a little high for repro units considering what they are, and baulk at the cost of original sets, this hint offers a good alternative.
If you are savvy in using Ebay, you may find the search criteria “bud vase” not very productive and, if original car bud vases are found, very expensive. Try your search using the word “epergne”. Epergne is often used to describe a bud vase as used in a house, but luckily for us sometimes epergne is used to describe original vintage car bud vases. If your search does not yield a set of original car bud vases and you are impatient, then with a little imagination, patience and research you could find pairs of small house vases in a very wide range of designs, colours and sizes that may be just as suitable. Look for pairs.
You will probably need to fabricate a bracket or, alternatively, Snyders sell brackets if you are sure the epergne vase will fit.
Hint: Remember those chrome stand tea candle holders popular a few years ago? The individual candle holders are perfect as brackets. These litter your local Salvo or Good Sammy shop for $1, and with a little effort you can make many brackets from one stand.
Be aware: Most epergne on offer will be household flower display vases and as such not suitable for our use. So for something which looks promising, it is important you seek a full description, including dimensions and overall appearance, and you will need to consider how you will attach the bracket to your car.
I am sure you will find something unique for your Model A closed car for much less than the standard repro car bud vases on offer.
If it all sounds too challenging Snyders have nice bud vase sets and brackets to suit for US$195 vase pair + US $49.95 brackets.
Fred Manwaring, Western Model A News June 2012
Top of page
Headlamp Bar Fitting
Sometimes when you fit the headlamp bar to the mudguard stays, the bolts do not drop in without excessive force. To achieve an easier fit, you can spend lots of time with trial and error bending the mudguard brace.
To overcome this problem, I made up two 1mm steel shims to fit between the chassis and the mudguard brace. This spaces the braces out slightly and allows the bolts to push in without force. Everything is then in a neutral position and it certainly makes installing the rubber pads easier.
![]()
Final piece was made out of galvanised steel sheet, with a better finish on the edges and holes.
Ron Andrews, Western Model A News December 2019
Window Winder Spring Installation
Sometimes a window regulator spring will either break or become so weak that it makes it hard to roll up the window. Installing a new spring can be difficult and also dangerous.
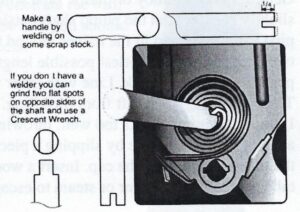
Take an old distributor shaft and weld on a T handle made from rod stock. Grind down the slotted end so the slot is only 1/4″ deep. Put the regulator in a vise and wind it until the lift arm is all the way up. This is the position in which the spring is least compressed. Hook the outer hook of the spring and insert the tool in the center. Turn the tool to compress the spring until it fits into the slot. Release the tool. Tap the spring into position with a hammer.
MAFCA, Western Model A News September 2021
Convex Mirrors
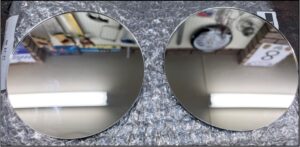
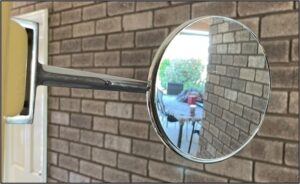
Convex mirrors can be purchased in the exact size needed for your existing external round mirrors. eBay vendor replacement_mirrors_australia sells them in sizes with 1mm diameter increments. The mirror edges are sealed against moisture ingress. Mine cost Au$60 for a pair with 100mm diameter.
I couldn’t work-out how to get my existing flat mirror glass out, so just used high quality double-sided tape to stick the new convex mirrors directly to the old mirror glass.
My mirrors can now be adjusted so there is no blind spot.
Ian Steer, Western Model A News March 2022
Fuel Tank De-Rusting & Coating
With all my panel preparation, I start the de-rusting by placing the rusty panel in an old “bath” of water, with a hand full of washing soda thrown in. Then I connect an old computer power supply (12V) to it and leave it for several days (depending on size). The positive goes to a sacrificial anode in the water, and the negative goes to the panel. This is most Important – get it wrong and the process eats away your panel. If the object doesn’t get fully covered with water, just do half at a time.
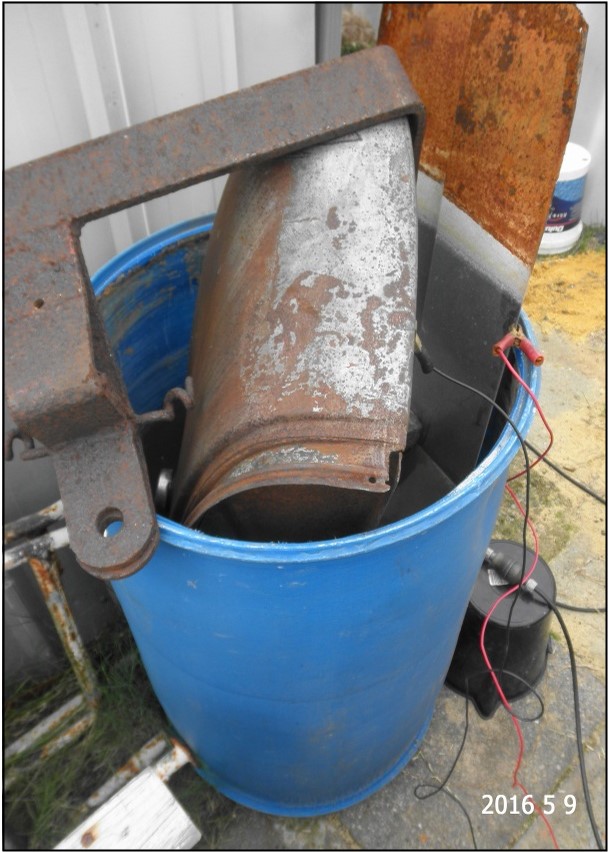
The photo above shows me de-rusting a Model A fuel tank, half at a time. The anode is any piece of steel (larger for large objects being de-rusted). The amount of time you leave it in depends on the amount of rust – could take one day or three. After the bath, sand off the remaining rust and Ranex the cleaned surface and keep dry until undercoating.
Then to clean the inside of my tank, I selected a jam tin of blue metal with pieces approximately a half inch in size and tipped them into the tank. I then tumbled it attached to my cement mixer for two days. It is very noisy – you need good neighbours! The reason for knowing the number of pieces of blue metal is to make sure you’ve got all the pieces out once finished.
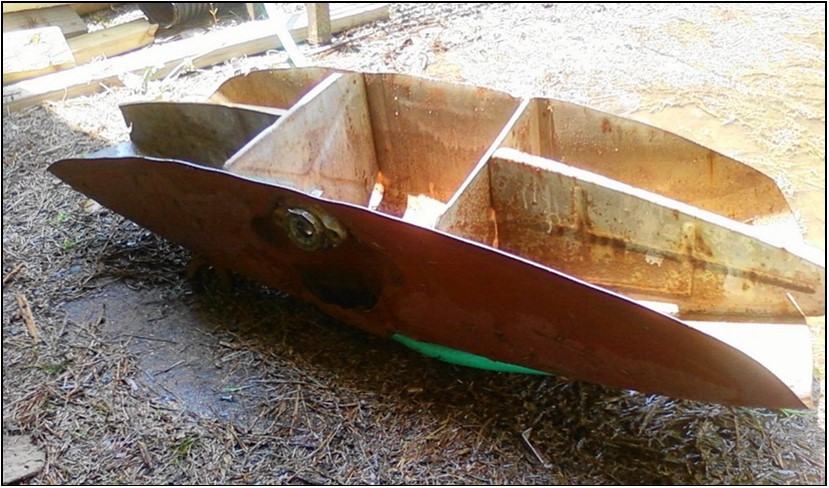
Looking at the photo above, you will see why it takes time to get the blue metal out – each corner of these divisions has small cut off corners. I have also used this method to clean out the water jacket in a Model A block.
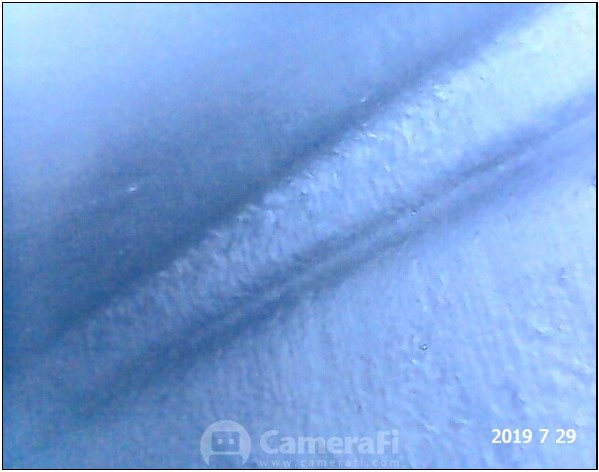
To coat the inside of the tank, there is a product available from your vehicle parts shops which is a three step process. Just follow their instructions.
The Model A tank has several compartments, so I placed my tank back on our cement mixer for tumbling for each step. I have a fitting which attached to my camera and here is a photo of the inside once complete!
Allan Jeffree, Western Model A News Oct 2023